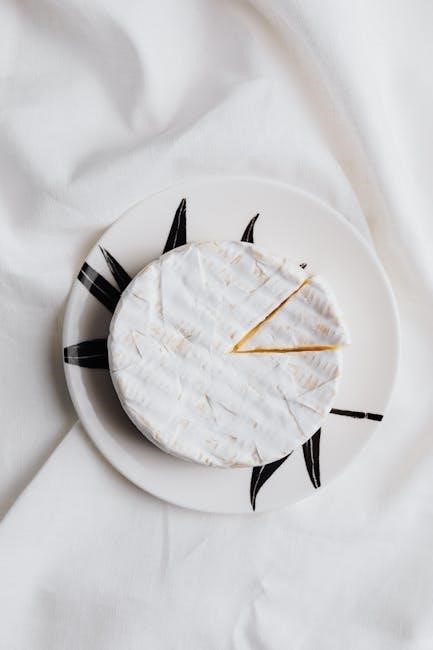
round cake cutting guide
Mastering the art of cutting a round cake ensures perfectly even slices, enhancing presentation and serving efficiency at weddings, parties, or special events with precision and ease.
Importance of Proper Cake Cutting Techniques
Proper cake cutting techniques are essential for achieving even, visually appealing slices, ensuring every guest receives a fair portion. This skill enhances presentation, reduces waste, and maintains the cake’s structural integrity. Even slices contribute to a professional appearance, making the cake a focal point at events like weddings or parties. Additionally, precise cutting ensures the flavor and texture are consistent across all servings, maximizing guest satisfaction. Mastering these techniques is key to efficiently serving large groups and creating a positive impression. Proper methods also prevent messy edges and crumbs, making the experience cleaner and more enjoyable for everyone involved.
Overview of Tools and Equipment Needed
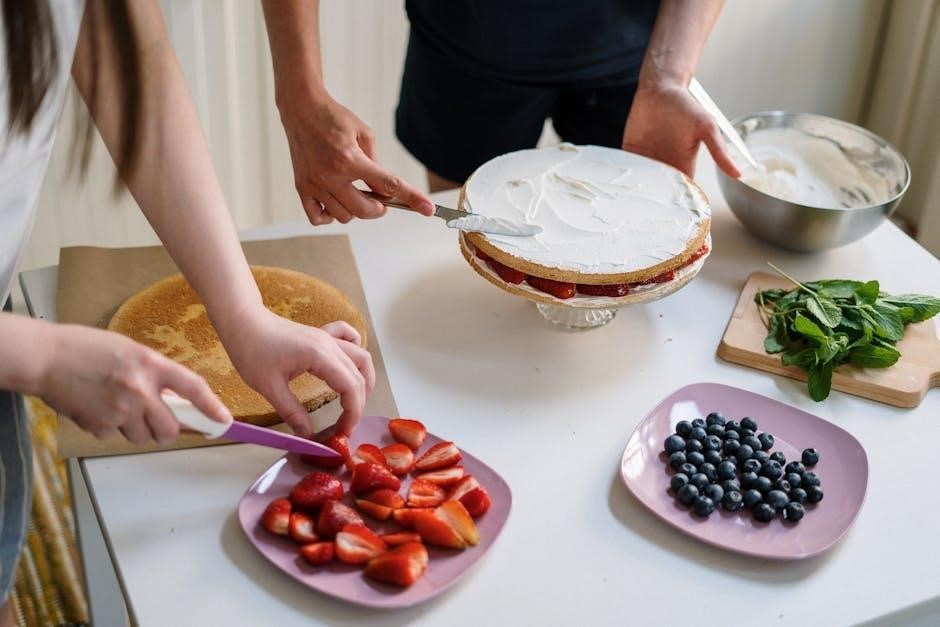
To cut a round cake effectively, you’ll need a few essential tools. A serrated knife is ideal for making clean, even cuts through the cake layers. A cake stand or turntable allows easy access to all sides of the cake, ensuring precise slicing. A serving spatula is helpful for lifting and transferring slices without breaking them. Additionally, a protractor can be used to measure and mark equal portions, while a clean, damp cloth keeps the knife blade free of crumbs and frosting residue for smoother cuts. These tools collectively ensure a professional and efficient cake-cutting experience.
Understanding Cake Sizes and Servings
Understanding cake sizes and servings is crucial for ensuring every guest gets an equal portion. Standard round cakes come in various diameters, each yielding a specific number of slices, making it easier to plan for events accurately and avoid waste.
Standard Round Cake Sizes and Servings
Standard round cake sizes vary, with common diameters including 8-inch (serves 8-10), 9-inch (serves 10-12), 10-inch (serves 15-18), and 12-inch (serves 20-24). Larger cakes, like tiered ones, offer more servings, depending on the number of tiers and their sizes. Knowing these standards helps in planning and ensuring enough portions for guests. Using a cake cutting guide or video can also aid in achieving consistent slice sizes and maximizing the number of servings from each cake.
How to Calculate the Number of Portions
To determine the number of portions, start by calculating the cake’s area using its radius (diameter divided by 2) and the formula: Area = π × radius². Assume a standard portion size of 3×3 inches per slice. Divide the cake’s total area by the area of one portion (9 square inches) to estimate the number of slices. For example, a 10-inch cake (radius = 5 inches) has an area of 78.54 square inches, yielding approximately 8.7 slices, rounded up to 9 portions. This method ensures even distribution and maximizes servings for events.
Essential Tools for Cutting a Round Cake
A serrated knife, cake stand, and turntable are vital for precise cuts, ensuring clean and even slices with minimal crumbs and professional presentation every time.
Best Knives for Cutting Cakes
A serrated knife is ideal for cutting round cakes, as its toothed edge ensures clean, even slices with minimal crumbs. The offset serrated knife is particularly recommended due to its long, flexible blade, which glides smoothly through the cake. For smaller cakes, a straight-edge knife may suffice, but a serrated knife is better for larger or layered cakes. Additionally, a sharp bread knife can work well for textured or tiered cakes, providing precise control and reducing the risk of tearing the cake. Always use a sharp blade to achieve professional-looking results.
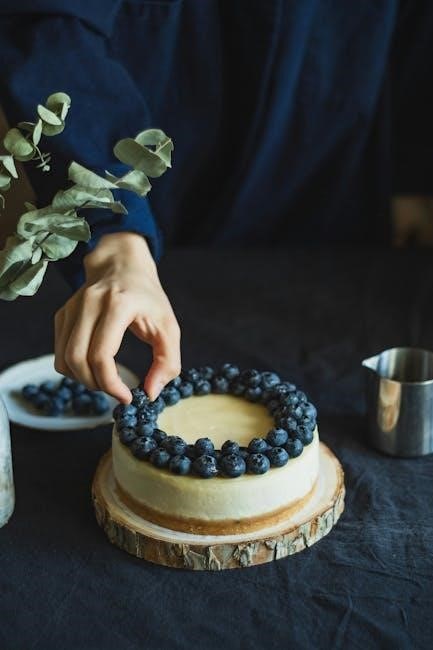
Using a Cake Stand or Turntable
A cake stand or turntable is essential for efficient and even cutting of round cakes. Elevating the cake on a stand improves visibility and accessibility, allowing for precise cuts. A turntable enables seamless rotation, ensuring equal access to all sides of the cake without lifting or moving it. This tool minimizes strain and enhances presentation, making it ideal for large gatherings or tiered cakes. By stabilizing the cake, it prevents wobbling and ensures clean, uniform slices, while also adding a professional touch to your cake-cutting experience.
Basic Techniques for Cutting Even Slices
Use a serrated knife for clean cuts, start at the top, and slice downward. Rotate the cake and make radial cuts for consistent, even portions every time.
How to Make the First Cut
To make the first cut, place the round cake on a stable surface or cake stand. Ensure the cake is completely cooled and leveled for even slicing. Position your serrated knife in the center of the cake, aligning it vertically. Gently saw through the cake in a smooth, steady motion, applying light pressure to avoid crumbling. Start from the top edge and work downward, maintaining a straight line. This initial cut sets the foundation for achieving uniform, radial slices. Rotate the cake after each cut to ensure consistency and even distribution of portions.
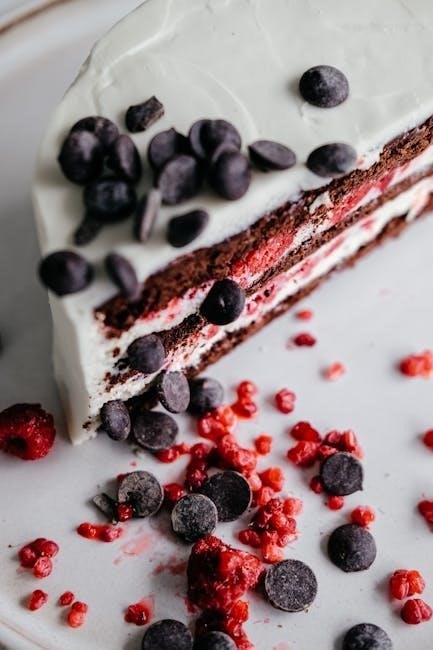
Achieving Radial Slices for Even Distribution
To achieve radial slices, start by placing the knife at the center of the cake. Make a straight cut from the center to the edge, then rotate the cake slightly. Repeat this process, ensuring each cut aligns with the previous one for uniformity. Using a cake stand or turntable can simplify rotation and help maintain even spacing. This method ensures clean, consistent slices and prevents uneven portions, making it ideal for events requiring precise serving sizes and professional presentation.
Advanced Tips for Clean and Precise Cuts
Freezing the cake briefly before cutting ensures a firm texture, reducing crumbs. Using a heated knife or serrated blade minimizes drag. For clean edges, make small, gentle sawing motions. A turntable helps maintain stability, while frequently wiping the knife prevents residue buildup.
- Freezing the cake briefly before cutting ensures a firm texture, reducing crumbs.
- Using a heated knife or serrated blade minimizes drag.
- For clean edges, make small, gentle sawing motions.
- A turntable helps maintain stability, while frequently wiping the knife prevents residue buildup.
How to Prevent Crumbs and Messy Edges
To achieve clean cuts and avoid crumbs, freeze the cake for 10-15 minutes to firm it up. Use a serrated knife or a heated blade for smooth slicing. Gently saw through the cake with small, steady motions, applying minimal pressure. Wipe the knife frequently with a damp cloth to remove residue. For tiered cakes, stabilize each layer before cutting to prevent shifting. These techniques ensure precise, crumb-free edges and professional-looking slices.
- Freezing the cake briefly firms its texture, reducing crumbs.
- A serrated or heated knife glides smoothly, minimizing mess.
- Gentle sawing motions and wiping the knife regularly ensure clean cuts.
- Stabilizing tiered cakes prevents uneven slicing and crumbs.
Leveling the Cake for Uniform Slices
Leveling a round cake ensures uniform thickness and even slicing. Place the cake on a turntable or flat surface and identify the highest point. Using a serrated knife or cake leveler, gently trim the dome to create a flat surface. For precision, use a spirit level to confirm evenness. Once leveled, chill the cake in the fridge for 10 minutes to set before cutting. This step guarantees consistent slices and a professional finish, making serving easier and more visually appealing.
- Trim the dome to achieve a flat surface for even slicing.
- Use a spirit level to ensure the cake is perfectly aligned.
- Chill the cake after leveling to firm it up for clean cuts.
Special Considerations for Tiered Cakes
Tiered cakes require careful handling to maintain stability and prevent collapse during cutting and serving, ensuring each tier remains intact for a flawless presentation.
Cutting Techniques for Multi-Tiered Cakes
Cutting multi-tiered cakes requires precision and care to maintain stability and presentation. Start by ensuring the cake is level and supported, often using dowels orcake boards. Begin cutting the bottom tier first, using a long serrated knife to make clean, radial slices. For upper tiers, remove each gently and place on a separate serving plate before slicing. This method prevents structural collapse and ensures even portion distribution. Using a cake stand or turntable can help visualize and access all sections evenly, while a sharp knife minimizes crumbs and mess. Proper technique guarantees a professional finish and satisfying servings for all guests.
Stabilizing the Cake During Cutting
Stabilizing the cake is crucial for clean, even cuts. Place the cake on a sturdy cake stand or turntable to prevent movement. For tiered cakes, ensure each tier is securely stacked using dowels or cake boards. A non-slip mat under the stand can add extra stability. Before cutting, lightly press the cake to ensure it’s evenly positioned. Using a sharp serrated knife and applying gentle, consistent pressure helps maintain control. Proper stabilization prevents wobbling and ensures precise cuts, making the process safer and more efficient for achieving professional-looking results every time.
Perfecting round cake cutting requires patience and practice. Use sharp tools, stabilize the cake, and cut with confidence for professional-looking results every time, ensuring memorable presentations and delicious servings.
Common Mistakes to Avoid
One of the most common mistakes when cutting a round cake is using a dull knife, which can lead to uneven slices and torn edges. Applying too much pressure can cause the cake to collapse or crumble. Additionally, cutting without a stable surface or failing to level the cake beforehand often results in inconsistent portion sizes. To avoid these errors, ensure your knife is sharp, work gently, and always level the cake before making the first cut. This will help maintain the cake’s structural integrity and provide clean, even slices for a polished presentation. By addressing these key pitfalls, you can achieve professional-looking results every time, making your cake serving experience both efficient and visually appealing.
Final Presentation Tips for Serving
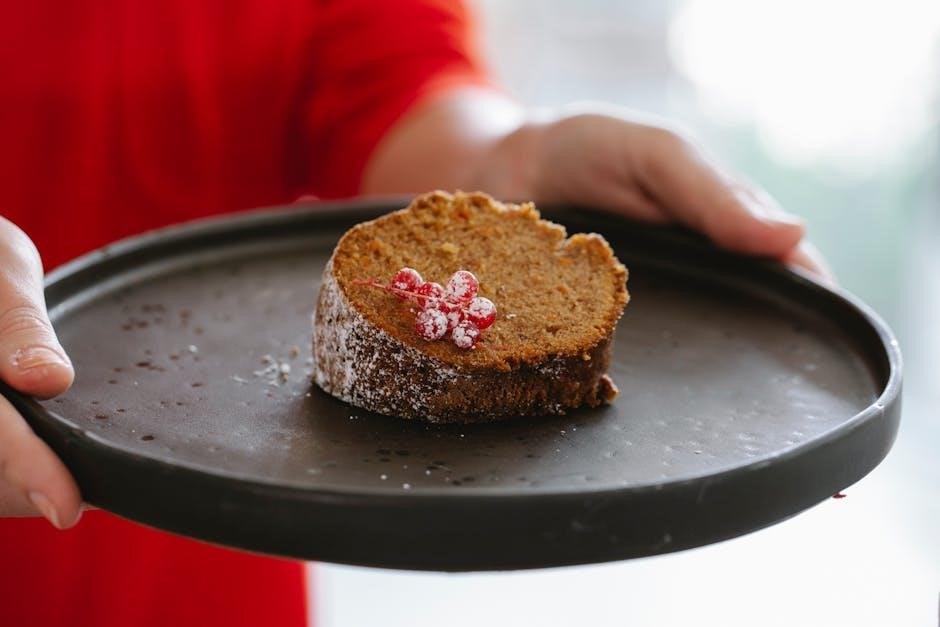
For a stunning presentation, place the round cake on a decorative stand or turntable to showcase its design. Garnish with fresh flowers, berries, or powdered sugar for added elegance. Arrange slices neatly around the cake or on a nearby platter to create visual appeal; Use a clean, sharp knife and serving spatula to maintain crisp edges and prevent crumbs. Ensure plates and utensils are polished and ready. Finally, position the cake in a well-lit area to highlight its details, making it the centerpiece of your event. These touches elevate both the cake’s appearance and the overall dining experience.


Leave a Reply
You must be logged in to post a comment.