canon a1 manual
This guide safely navigates setup, usage, and maintenance of your Canon A1. Carefully read to fully understand and utilize all features, ensuring optimal performance.
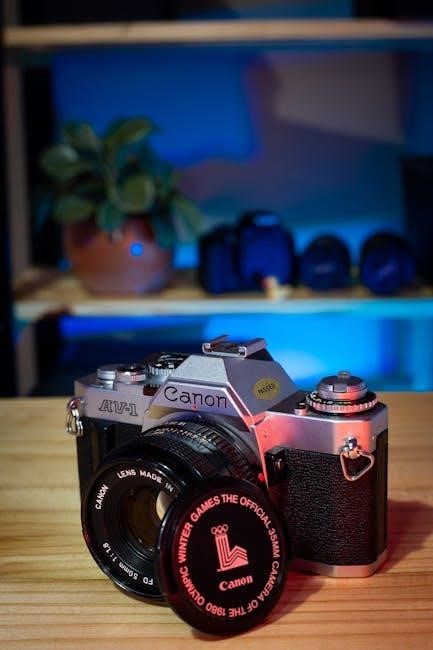
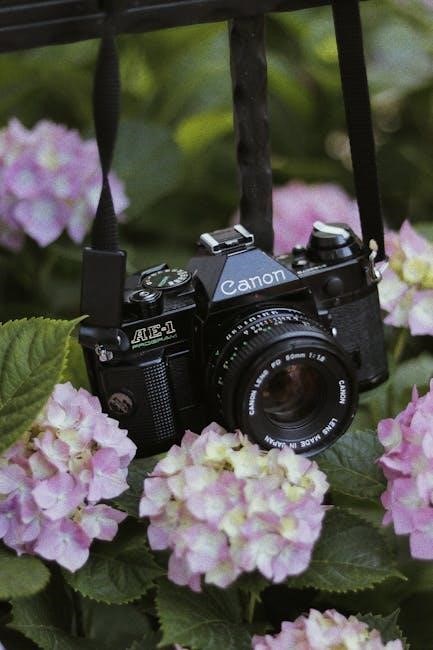
What is the Canon A1?
The Canon A1 represents a significant advancement in photographic technology, designed for both amateur enthusiasts and seasoned professionals seeking a versatile and high-performing camera system. It’s a sophisticated tool built to capture stunning images and videos with exceptional clarity and detail.
This camera boasts a range of advanced features, including a high-resolution sensor, intelligent autofocus capabilities, and a user-friendly interface. The Canon A1 is engineered to deliver outstanding image quality in diverse shooting conditions, empowering users to express their creativity without limitations. It’s more than just a camera; it’s a gateway to photographic excellence.
Target Audience for this Manual
This manual is crafted for a broad spectrum of Canon A1 users, from those new to digital photography to experienced photographers looking to maximize their camera’s potential. Whether you’re a beginner eager to learn the fundamentals or a professional seeking advanced techniques, this guide provides comprehensive instructions.
We aim to empower all users to confidently navigate the Canon A1’s features and settings. The content is presented in a clear, concise manner, with step-by-step explanations and illustrative examples. No prior technical expertise is required – just a passion for capturing beautiful images!
Getting Started with Your Canon A1
Begin your photographic journey! This section details unboxing, initial setup, battery charging, and memory card insertion for your new Canon A1 camera.
Unboxing and Initial Setup
Carefully unpack your Canon A1, ensuring all components are present: the camera body, battery, battery charger, strap, and this user manual. Inspect for any visible damage incurred during shipping.
Before first use, attach the strap securely to the designated eyelets. Next, fully charge the battery using the provided charger – a full charge typically takes several hours. While charging, familiarize yourself with the camera’s exterior.
Once charged, insert the battery into the battery compartment, following the diagram inside the compartment door. Finally, prepare to insert a compatible memory card (SD card recommended) into the designated slot, but we will cover that in the next section.
Charging the Battery
To charge your Canon A1’s battery, connect the provided battery charger to a standard wall outlet. Insert the battery into the charger, ensuring proper polarity – the contacts must align. The charger’s indicator light will illuminate, typically red while charging and green when fully charged.
A full charge usually takes several hours, but charging time varies depending on the battery’s initial charge level. Avoid interrupting the charging process.
Only use the Canon-supplied charger to prevent damage to the battery. Do not expose the battery or charger to extreme temperatures or moisture. A fully charged battery provides ample power for numerous shots, allowing extended shooting sessions.
Inserting Memory Cards
The Canon A1 supports various memory card types, typically SD, SDHC, and SDXC cards. Locate the memory card slot, usually on the side of the camera body, often protected by a door. Gently insert the card into the slot, ensuring it clicks into place. Do not force the card.
The camera’s display will confirm card detection. To remove the card, gently press it inwards to release the locking mechanism, then pull it out. Always handle memory cards with care, avoiding static electricity and physical damage.
Formatting the card within the camera is recommended for optimal performance.
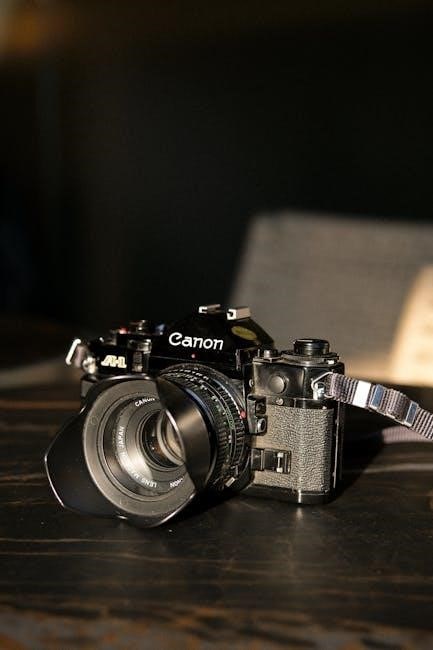
Understanding the Camera Body & Controls
Familiarize yourself with the Canon A1’s layout; understanding the placement of buttons, dials, and panels is crucial for efficient operation and creative control.
Front Panel Overview
The Canon A1’s front panel houses essential controls for a streamlined shooting experience. You’ll find the lens release button, allowing for quick lens changes, and the depth-of-field preview lever, enabling visualization of aperture effects.
The self-timer/drive mode dial offers single shooting, continuous shooting, and self-timer options. Adjacent to this is the exposure compensation dial, crucial for fine-tuning brightness.
Notably, the front panel also incorporates the autofocus point selection joystick, providing precise control over focus areas. Understanding these elements is key to mastering the camera’s functionality and achieving desired photographic results. Careful study of this area will enhance your overall shooting workflow.
Rear Panel Overview
The Canon A1’s rear panel is dominated by the large, high-resolution LCD screen, providing a clear view for composing shots and reviewing images. To the right of the screen, you’ll find the multi-controller for navigating menus and selecting focus points.
Essential buttons include the ‘Menu’ button for accessing camera settings, the ‘Set’ button for confirming selections, and the ‘Info’ button for displaying shooting information.
The playback button allows for easy image review, while the trash can button facilitates image deletion. Understanding the layout and function of these controls is vital for efficient camera operation and maximizing your creative potential.
Top Panel Overview
The Canon A1’s top panel houses the primary shooting controls, designed for quick and intuitive access. Centrally located is the main dial, used for selecting shooting modes – Auto, Program, Aperture Priority, Shutter Priority, and Manual. Adjacent to this is the shutter button, enabling image capture.
A dedicated exposure compensation dial allows for easy adjustment of brightness. The power switch conveniently activates the camera, while the mode dial provides access to various creative settings.
Familiarizing yourself with these controls is crucial for seamless operation and achieving desired photographic results. These elements offer direct control over key camera functions.
Control Dial and Buttons Functions
The Canon A1’s control dial offers versatile operation, adjusting settings like aperture, shutter speed, and ISO depending on the selected shooting mode. Rotating the dial allows precise control, while a push-and-rotate function often enables menu navigation. Dedicated buttons provide quick access to frequently used features.
The ‘Set’ button confirms selections, while directional buttons navigate menus and select focus points. A dedicated ‘Q’ button brings up a quick control screen for instant adjustments.
Understanding these functions streamlines workflow, enabling efficient and customized camera operation for optimal results.

Shooting Modes Explained
Explore diverse shooting modes—Auto, Program, Aperture Priority, Shutter Priority, and Manual—to unlock creative control and capture stunning images with your Canon A1.
Auto Mode (Intelligent Auto)
Canon’s Intelligent Auto mode simplifies photography for beginners, intelligently analyzing scenes to optimize camera settings. This mode automatically selects the most appropriate settings based on detected subjects – like portraits, landscapes, or sports – and lighting conditions.
It handles everything from ISO speed and white balance to autofocus and image stabilization, ensuring consistently good results with minimal effort. Ideal for quick snapshots and everyday shooting, Intelligent Auto allows you to focus on composition without worrying about technical details.
The camera recognizes up to 58 different scenes, making it remarkably versatile. While offering convenience, remember that manual control is sacrificed for simplicity in this mode.
Program Mode (P)
Program mode (P) offers a balance between automatic operation and creative control on your Canon A1. The camera automatically sets both aperture and shutter speed, but allows you to adjust ISO, white balance, and exposure compensation. This provides flexibility without the complexity of fully manual settings.
Program mode is excellent for situations where lighting changes rapidly, or you want a quick starting point for a shot. You can ‘shift’ the program, subtly altering both aperture and shutter speed combinations while maintaining proper exposure.
This is useful for controlling depth of field or motion blur without direct manual adjustments, offering a semi-automatic shooting experience.
Aperture Priority Mode (Av)
Aperture Priority (Av) mode on your Canon A1 empowers you to control the depth of field, while the camera automatically selects the appropriate shutter speed for correct exposure. This is ideal for portraits, landscapes, or any scene where controlling focus is paramount.
A wider aperture (lower f-number) creates a shallow depth of field, blurring the background and isolating your subject. Conversely, a narrower aperture (higher f-number) increases depth of field, keeping more of the scene in focus.
Remember to monitor the shutter speed to avoid motion blur, especially in low-light conditions. Av mode offers creative control with automated assistance.
Shutter Priority Mode (Tv)
Shutter Priority (Tv) mode on the Canon A1 allows you to dictate the shutter speed, freezing motion or creating motion blur, while the camera automatically adjusts the aperture for proper exposure. This mode excels in sports photography or capturing flowing water effects.
A fast shutter speed freezes action, perfect for capturing fast-moving subjects. A slower shutter speed allows more light in, creating motion blur and a sense of movement.
Be mindful of the aperture value the camera selects; a very wide or narrow aperture might impact image quality. Tv mode provides control over time, with automated aperture adjustments.
Manual Mode (M)
Manual (M) mode on your Canon A1 grants complete creative control over both shutter speed and aperture, demanding a thorough understanding of exposure principles. This mode is ideal for challenging lighting conditions or achieving specific artistic effects.
You independently set both values, relying on the camera’s light meter as a guide. Adjusting one setting necessitates compensating with the other to maintain proper exposure.
Mastering Manual mode unlocks full potential, allowing precise control over depth of field and motion blur. It requires practice, but delivers unparalleled creative freedom.
Focusing and Image Quality
Achieve sharp, detailed images with the Canon A1’s advanced focusing systems and customizable image quality settings, maximizing your photographic potential.
Autofocus Modes and Selection
The Canon A1 offers a versatile range of autofocus (AF) modes to suit diverse shooting scenarios. One-Shot AF is ideal for stationary subjects, locking focus when the shutter button is half-pressed. AI Servo AF continuously tracks moving subjects, maintaining focus as they change position – perfect for sports or wildlife.
Additionally, AI Focus AF intelligently switches between One-Shot and AI Servo, detecting subject movement automatically. Manual Focus (MF) provides complete control for precise focusing, especially useful in challenging lighting conditions or for creative effects. Selecting the appropriate AF mode is crucial for capturing sharp, well-focused images consistently. Experiment with each mode to understand its strengths and weaknesses, tailoring your approach to each photographic opportunity.
Focus Point Selection
The Canon A1 empowers you with precise control over focus point selection, crucial for achieving sharp images exactly where intended. You can choose from a variety of AF point selection methods. Single-point AF allows manual selection of one focus point, ideal for static subjects requiring pinpoint accuracy. Zone AF utilizes a cluster of focus points, beneficial for subjects moving within a defined area.
AF point expansion adds surrounding points for increased tracking capability. Automatic selection lets the camera intelligently choose focus points, suitable for general photography. Understanding these options and adapting them to your subject and composition will dramatically improve your image quality and creative control.
Image Quality Settings (RAW vs. JPEG)
Choosing between RAW and JPEG significantly impacts your post-processing flexibility and file size. JPEG files are compressed, resulting in smaller file sizes and immediate usability, but with some loss of image data. They are ideal for quick sharing and everyday photography. RAW files, conversely, contain all image data captured by the sensor, offering maximum editing latitude.
RAW files require post-processing software to be viewed and edited, but allow for non-destructive adjustments to exposure, white balance, and more. For serious photographers prioritizing quality and control, RAW is the preferred choice, while JPEG suits convenience and simplicity.
ISO Sensitivity Settings
ISO determines your camera’s sensitivity to light, directly impacting image brightness and noise levels. Lower ISO settings (like 100 or 200) produce cleaner images with minimal noise, ideal for bright conditions. However, they require more light. Higher ISO settings (like 1600 or 3200) allow shooting in darker environments, but introduce more digital noise – graininess that can reduce image quality.
The Canon A1 allows for automatic ISO selection or manual control. Experiment to find the optimal balance between brightness and noise for your specific shooting scenario. Understanding ISO is crucial for achieving well-exposed, high-quality images.

Advanced Features & Settings
Explore customization options like white balance, metering modes, and personalized functions to refine your Canon A1’s performance and creative control.
White Balance Adjustment
Achieving accurate colors is crucial for impactful photography, and the Canon A1 offers robust white balance controls. White balance corrects color casts caused by different lighting conditions, ensuring your images appear natural. The A1 provides several preset options – Auto, Daylight, Cloudy, Shade, Tungsten, Fluorescent, and Flash – for quick adjustments.

For more precise control, utilize the Custom White Balance feature. This allows you to manually set the white balance by photographing a white or gray card under the current lighting. The A1 also offers Kelvin temperature adjustment, enabling fine-tuning of color temperature to match your artistic vision. Experiment with these settings to master color accuracy and create visually stunning photographs.
Metering Modes Explained
The Canon A1’s metering system determines the optimal exposure for your photographs. Understanding the different modes is key to achieving well-exposed images in various situations. Evaluative Metering analyzes the entire scene, ideal for general photography. Partial Metering focuses on a smaller area, useful when the subject is strongly backlit.
Spot Metering measures light from a very small point, perfect for precise exposure control in challenging lighting. Center-weighted Average Metering prioritizes the center of the frame. Choose the mode that best suits the scene to ensure accurate exposure and capture the desired mood and detail in your images.
Custom Functions and Personalization
The Canon A1 offers extensive customization options to tailor the camera to your shooting style. Through the custom functions menu, you can personalize button assignments, dial behavior, and display settings; Customize the autofocus behavior to prioritize speed or accuracy, depending on your subject.
Adjust the image quality settings to suit your post-processing workflow. Personalize the quick control screen for fast access to frequently used settings. These features allow you to streamline your workflow and enhance your overall shooting experience, making the A1 truly your own.
Troubleshooting Common Issues
This section addresses frequent problems like power failures, image quality concerns, and memory card errors, offering solutions for a smooth experience.
Camera Not Turning On
If your Canon A1 fails to power on, begin with the simplest checks. Ensure the battery is correctly inserted and fully charged; a low battery is a common culprit. Verify the battery compartment door is securely closed, as a faulty latch can prevent connection.
Next, try a different, known-good battery if available, to rule out a battery defect. Inspect the battery contacts for any dirt or corrosion, cleaning them gently with a dry cloth. Also, confirm the power switch is fully engaged and not stuck in an intermediate position.
If these steps don’t resolve the issue, consider resetting the camera by removing the battery and memory card for several minutes before reinserting them. If the problem persists, professional service may be required.
Image Quality Problems
Experiencing subpar image quality with your Canon A1? First, check your shooting settings. Ensure you’ve selected an appropriate image quality format – RAW offers maximum flexibility for editing, while JPEG is convenient for immediate use. Verify your ISO setting isn’t too high, as higher ISOs introduce noise.
Also, confirm your lens is clean and free of smudges or dust. Incorrect white balance settings can cause color casts; utilize auto white balance or select a preset appropriate for the lighting conditions.
Finally, review your focus; blurry images indicate focusing issues. Experiment with different autofocus modes and focus point selection to achieve sharp results. If problems persist, consider a sensor cleaning.
Memory Card Errors
Encountering memory card errors with your Canon A1? The first step is to ensure the card is properly inserted and compatible with the camera. Try a different, known-working memory card to isolate the issue. Formatting the card within the camera can often resolve minor errors, but remember this will erase all data.
Avoid removing the card during file writing, as this can corrupt data. If the error persists, the card may be damaged or faulty and require replacement. Check for physical damage to the card’s contacts.
Finally, ensure the card isn’t full; a full card can sometimes trigger error messages.

Maintenance and Care
Regular cleaning and proper storage are vital for your Canon A1’s longevity. Protect your investment with careful sensor cleaning and battery management practices.
Cleaning the Sensor
Maintaining a clean sensor is crucial for optimal image quality with your Canon A1. Dust and debris can accumulate, leading to unwanted spots in your photographs. It’s recommended to use a dedicated sensor cleaning kit specifically designed for Canon cameras.
Before attempting any cleaning, ensure the camera is fully charged and powered off. Utilize the camera’s built-in sensor cleaning function first, as it can often remove loose dust particles. If manual cleaning is necessary, follow the kit’s instructions meticulously, applying gentle pressure and avoiding any abrasive materials. Improper cleaning can damage the sensor, so caution is paramount. Consider professional sensor cleaning if you’re uncomfortable performing the task yourself.
Battery Care and Storage
Proper battery care maximizes the lifespan and performance of your Canon A1’s power source. Always use the Canon-supplied battery charger to avoid damage. Avoid exposing the battery to extreme temperatures – both heat and cold can reduce its capacity.
When storing the battery for extended periods, discharge it to approximately 40-60% to prevent over-discharge, which can render it unusable. Store the battery in a cool, dry place, away from direct sunlight and humidity. Never leave a fully charged or fully discharged battery unattended for prolonged durations. Regularly cycle the battery (charge and discharge) to maintain its health and optimal functionality.

Leave a Reply
You must be logged in to post a comment.